
With nearly 20,000 stars on GitHub, the Storybook is certainly the most popular open source tool for developing and testing React and React Native UI components. You might be interested to learn that in Oracle Content and Experience Cloud we provide a similar environment for iterative development and testing of custom components for Sites.
In fact, by leveraging developer tools available in Oracle Developer Cloud, we provide not only a test harness for quick, iterative development of custom components for Sites, but a comprehensive platform for developers that enables you to plan development projects, document requirements and collaborate on project documents, manage source code of components in your project, package and deploy components that you developed directly to Content and Experience Cloud for production use
The Developer Cloud integration provides you a Content and Experience Cloud template with sample components and sample unit tests to get you started. Project that you create from this template includes a Git repository, scripts and local test harness to help you to:
- Explore the samples and use them to start developing custom components
- Create and test custom components
- Write unit tests
- Export a component from Content and Experience Cloud into the DevCS environment for source management and further development
- Set up your local development environment to use a Content and Experience Cloud for local testing of components that require Document Management or Process Cloud services
- Optimize components minifying JavaScript code and compressing the CSS
- Deploy your components to Content and Experience Cloud
In December 2017 we made second release of Content Experience Cloud template for Oracle Developer Cloud. With this release, you can not only develop custom components for Sites, but also create custom versions of several seeded components, including:
- Folder List
- File List
- Documents Manager
- Process Start Form
- Process Task List
- Process Task Details
Those of you who started development using first release of Content Experience Cloud template for Oracle Developer Cloud, will be able to upgrade existing projects to the new version.
Developing Custom Components with Developer Cloud
Before you begin developing custom components, you should familiarize yourself with Oracle Developer Cloud, its components and typical workflows – service documentation is a good start.
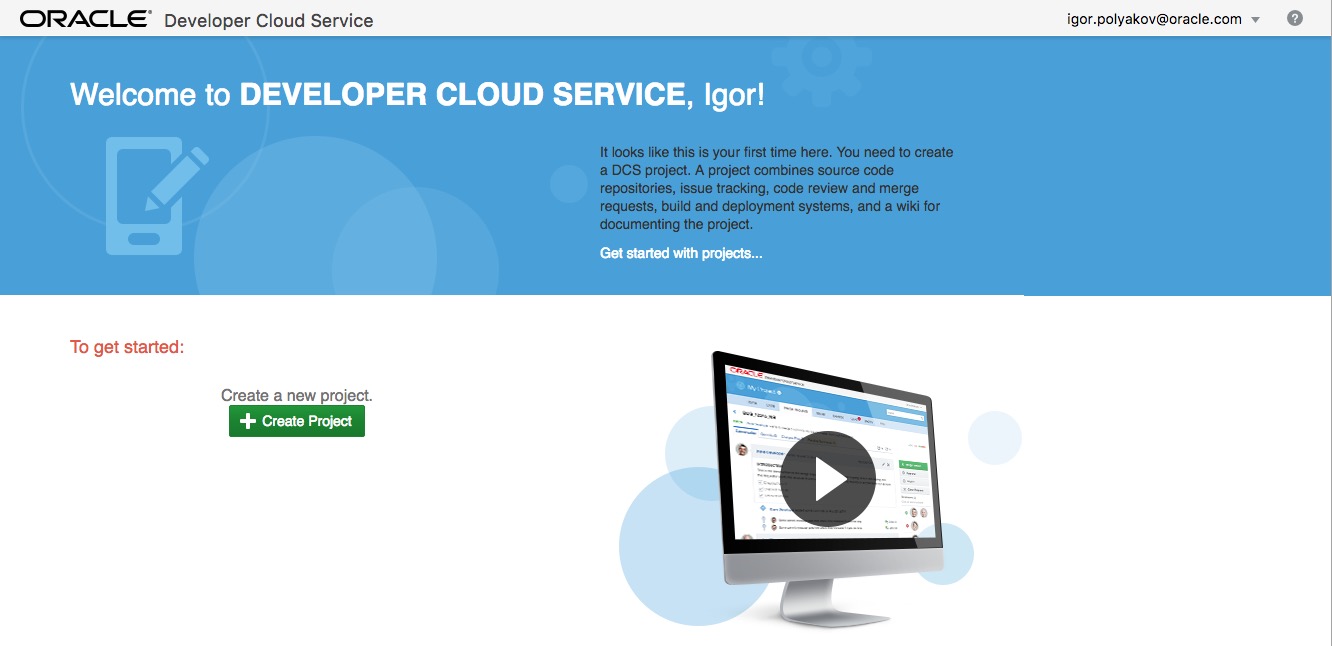
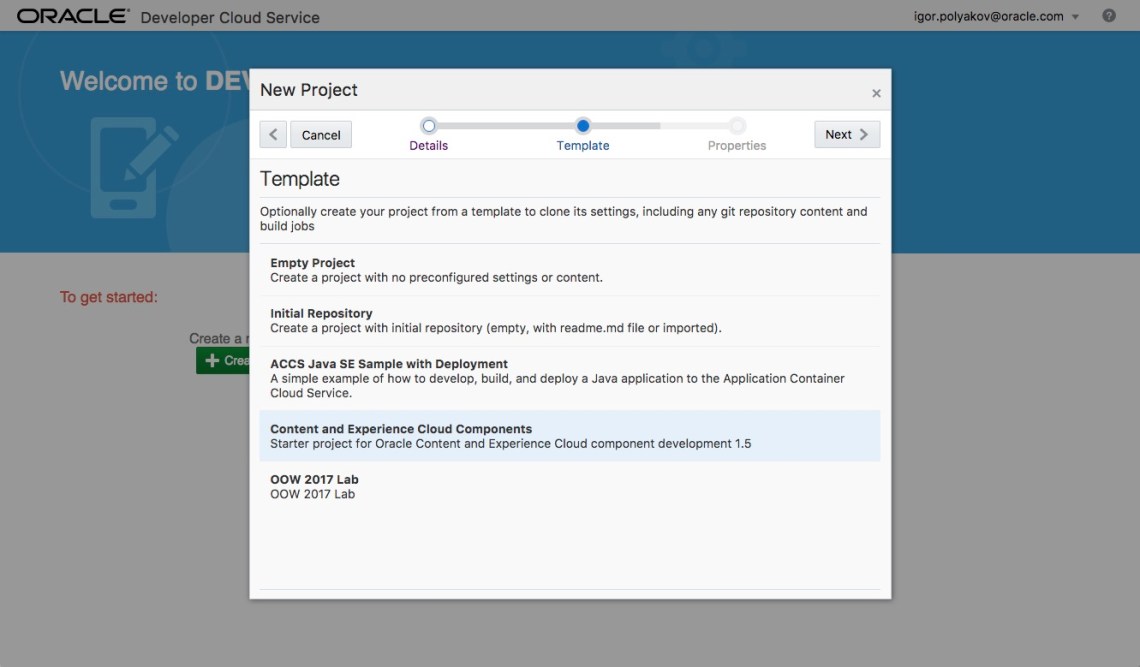
Once you are ready, access the Developer Cloud Service URL and sign in to the console. Start by creating new project using Content and Experience Cloud Components template for that. Your project will have seeded “Getting Started with CEC Custom Components Development” wiki with information about seeded samples, build and deploy scripts. This wiki uses CONFLUENCE markup which you should select on the Project Properties page of the wizard.
Provisioning of new Developer Cloud project takes time as it includes Git, Maven, Agile board, Issue tracker and other components… be patient.
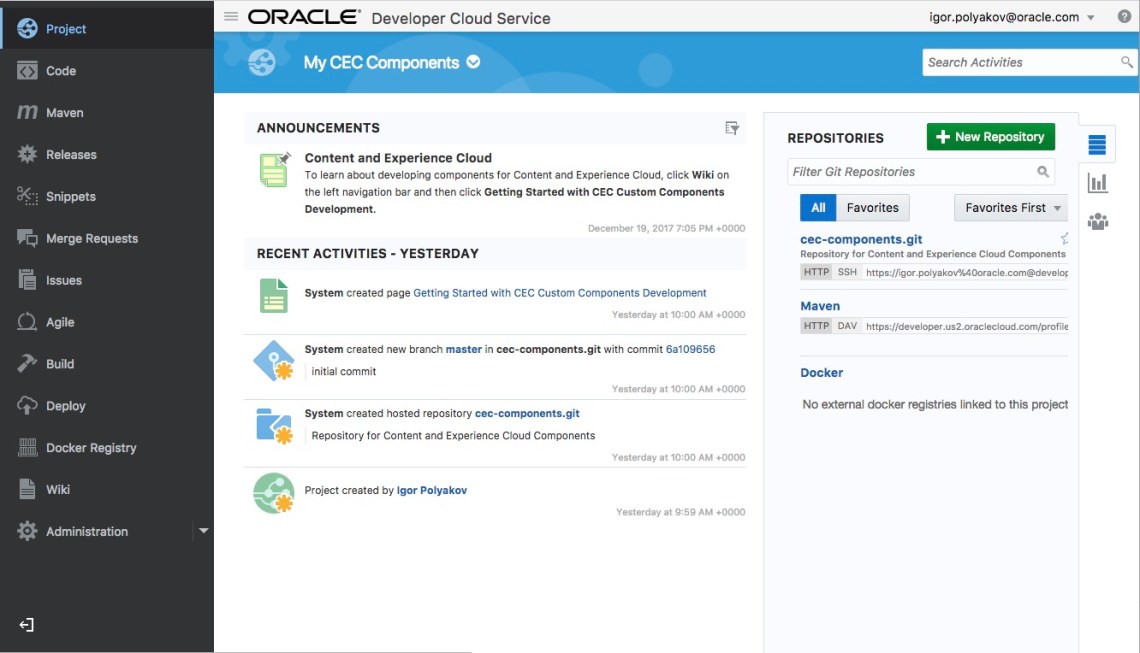
Once new project is created, on the project dashboard you will see list of recent activities, announcements, as well as URLs that you can use to connect remotely to Git and Maven repositories that were created fro you. On the left navigation panel, you will find links to wiki, code repository, issue tracker and other functional areas in the project.
The “Developing Custom Components with Developer Cloud Service” section in CEC documentation contains detailed description how to use Developer Cloud for developing custom components for CEC Sites and managing their development lifecycle. In the project Wiki, you can find extra information about seeded samples and build scripts configuration. In this blog post I want to share couple hints to help you to get started using Developer Cloud with CEC.
First, you should spend some time investigating your new project and its content. The Content and Experience Cloud Components templates adds content to:
- Code – Git repository with seeded sample components, libraries and test harness
- Maven – Maven repository
- Build – the Deploy All Components job
- Wiki – the Getting Started with CEC Custom Components Development wiki
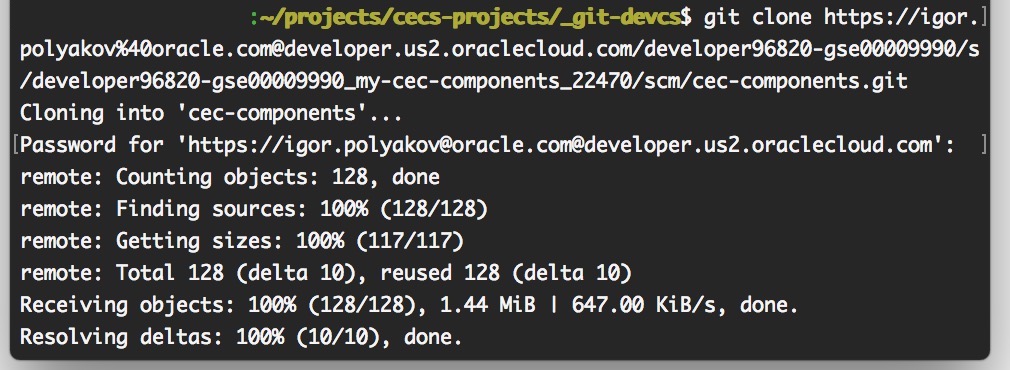
Once ready, pull content from the project’s Git repository to your local drive. I assume that you have Git client installed on you desktop and you are familiar with using Gi. If not, there is plenty of online guides, including Git How To, that you can use to learn Git.
In the ‘cec-componnets‘ folder that Git creates on your machine, you will find source code for all seeded components (./data/components), build scripts (./bin) and Gradle properties file that you will use to setup your local development environment and configure build automation, for details see “Do a One-Time Gradle Setup” chapter in the documentation.
Local Test Harness
The CEC Components project comes with a test harness that you can use on your local environment to test components that you are developing without deploying them first to Content and Experience Cloud. You can use local test harness not only for iterative development, but also to run unit tests of your custom components. To start test harness first time, open command line terminal in the ‘cec-componnets‘ folder and run:
- npm install
- npm start
Open web browser at http://localhost:8085 to see seeded Sample-To-Do component running in the local test harness:
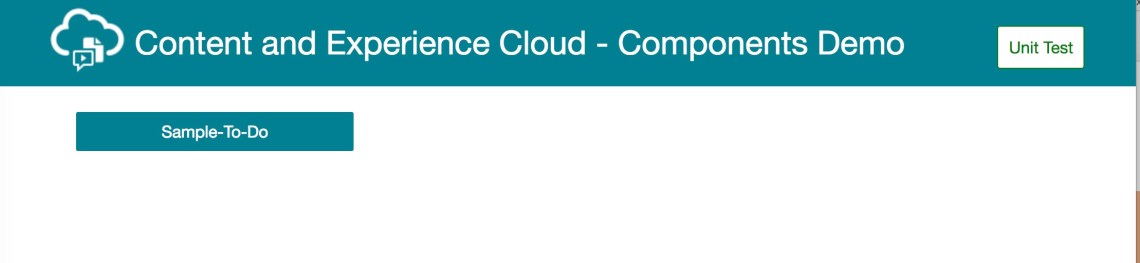 You will see only the Sample To-Do component loaded into the test harness as by default we only seed single component in exploded format under /src/main/components folder. You can add other seeded components by running npm run create-component in the ‘cec-components’ folder. For example, you can create new component by cloning the Sample-Text-With-Image component:
npm run create-component — –source Sample-Text-With-Image –name Sample-Text-With-Image
This command creates a new folder under /src/main/components with source code of new component and of course, you can use a different name for it. If you refresh test harness page, you will see new component displayed on it:
 The source code of new component gives you a starting point for creating custom component. For further details about this command you should check the Develop Your Custom Component section in the documentation.
You can click on either component on the list to see it running in the test harness, for example, if you click on Sample-Text-With-Image, you will see:

The dark panel on the left displays the Settings UI if component has it implemented. It is fully functional, i.e. you can change a setting to see its effect on the component display – good for testing.
I hope you have enough information to get started using Oracle Developer Cloud for developing custom components for CEC Sites. Have fun!
