Recently I received several questions about creating a blog site with Oracle Content and Experience Cloud (CEC). In this post I will demonstrate how you can do that by using structured content in CEC Sites that we added last year.
Blog Site
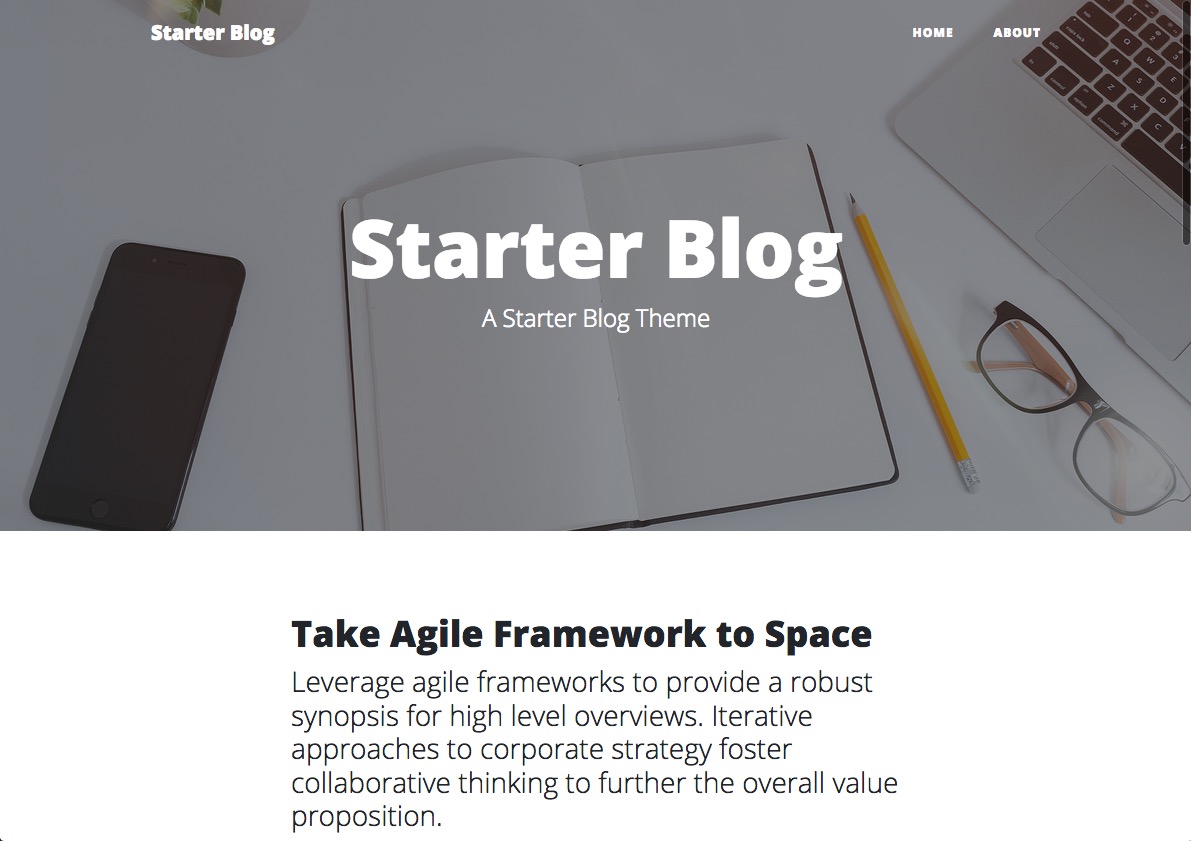
As with any new site, you need to start by selecting a template for you site. I decided to create a new template / theme for my blog site based on the Bootstrap theme Clean Blog from Start Bootstrap. You can download this theme from here.
To conver a Bootstrap them to CEC Sites template, you can follow my earlier posts Creating New Theme in Oracle Sites Cloud Service – Part 1 and Part 2. I created 3 page layouts – home.html for the Home page of my new site, about.html for the About page and post-detail.html which I will use to display full blog article on click through from the Home page that displays a summary list of blog posts.
In the page layouts for the Home and About pages, I turned first row in the Bootstrap “container’ into SCS slot:
<!-- Main Content --></pre>
<div class="container"></div>
<pre>
When displaying full post I want it to take the whole page, so that in the post-detail.html page layout I removed the content “container” and instead added SCS slot above the navigation:
<!-- Post Content --></pre>
<div id="post-id" class="scs-slot"></div>
<pre><!-- Navigation -->
You may decide to use a different layout of SCS slots in your page layouts. Anyhow you can download the theme that I created for my Blog site from here BlogStarterTheme. Once the theme is completed, you should add 3 pages to your site – Home using home.html layouts, About using bout.html layout and Post Detail using post-detail.html layout. 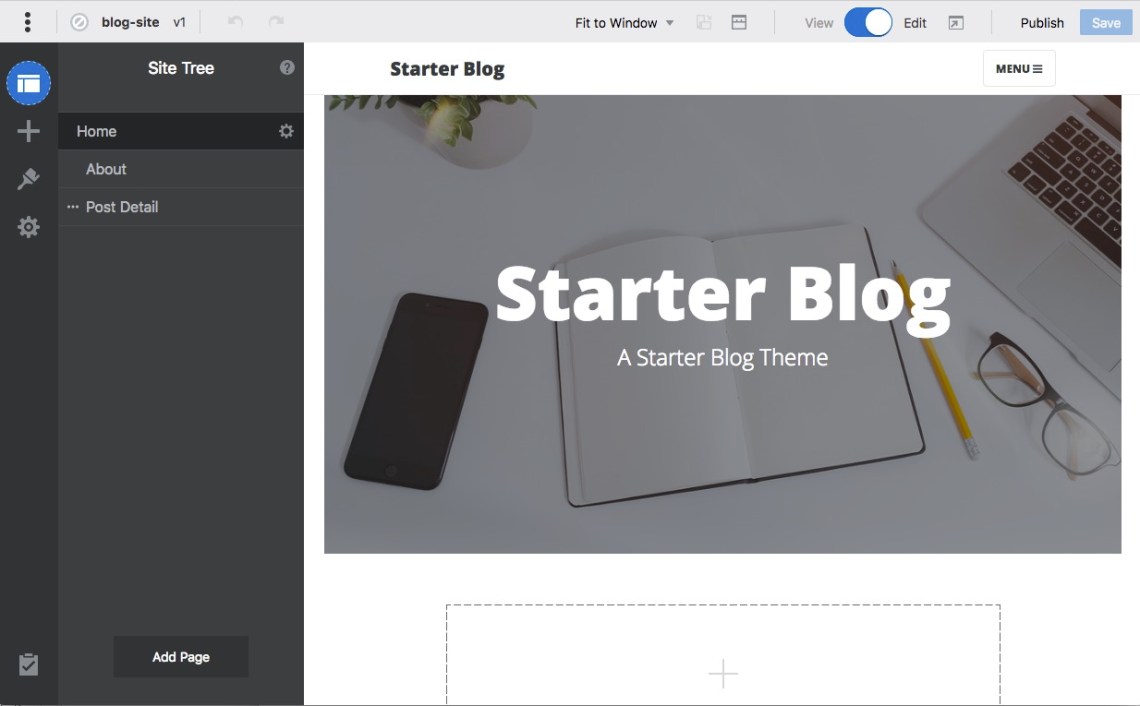 The Post Detail page will be used to display the whole blog article on site visitor click-through from the list of blogs, so that you should mark it as ‘Detail page’ in the page settings
 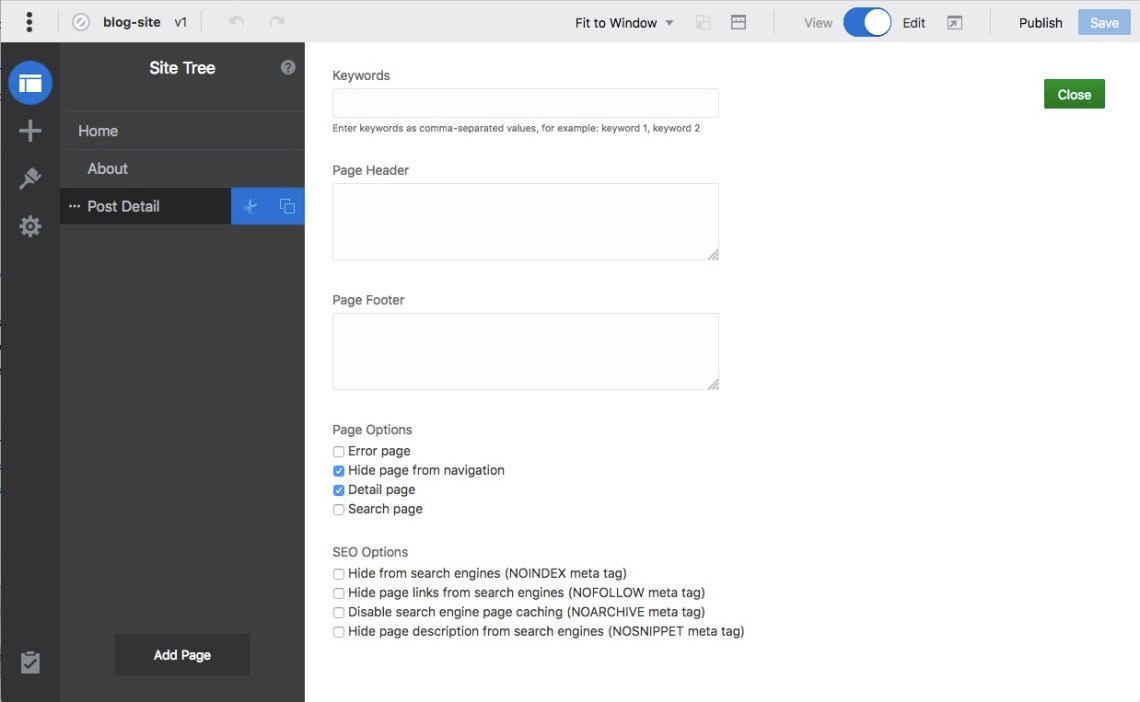 Detail page is by default hidden from navigation which is what I want for my blog site as well. I am done with the site for now and ready to ,proceed to defining content model for my Blog site.
Content Model for My Blog Site
You may ask, what is content model? For a website or another application, content model describes all the different types of content you will use on the site or in this application. It contains detailed definitions of each content type and its fields, as well as type relationships to each other. Model can evolve with time, however it is advisable to spend time thinking it through before using content types for contributing content to you site or application. For my simple Blog Site I will use Blog Post content type to define fields that each article posted to the blog will contain and Blog Author content type to describe blog author. In Oracle CEC you can access Content Type management UI from the Content Items page. On the Content Types page, select Create option and then drag-and-drop the following fileds to define the Blog Author content type: 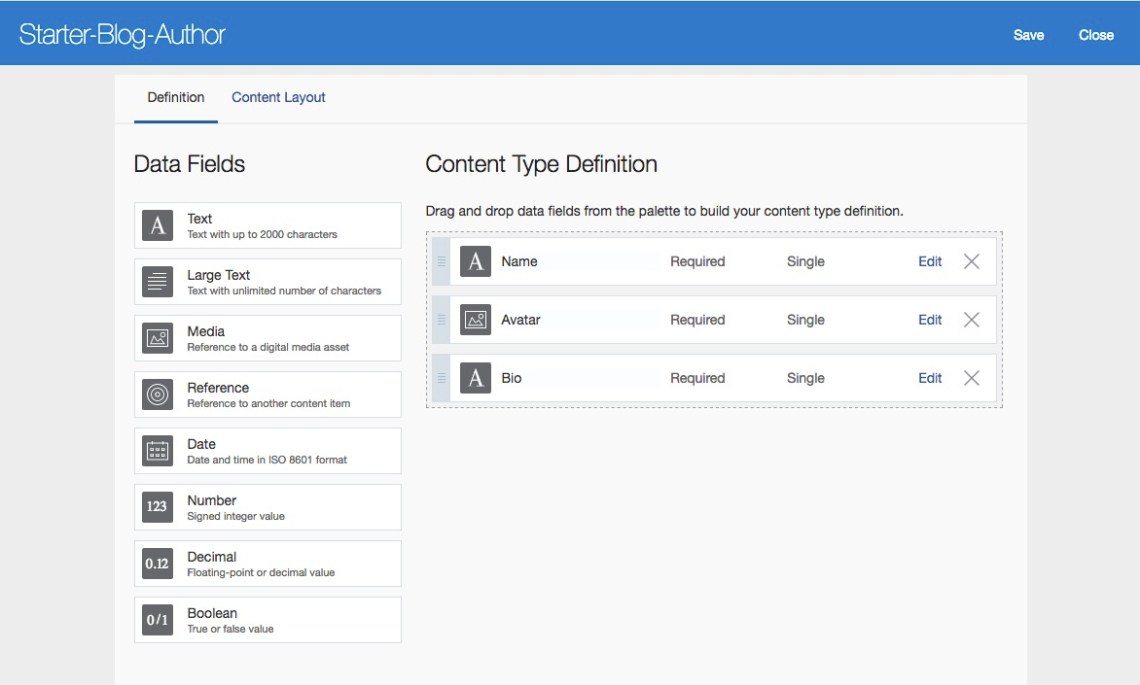 The Name field will store author’s name, the Avatar – picture and the Bio – show write-up about blog’s author. Save Author type, close editor and then create new Blog Post content type. Define the type by drag-and-dropping the following fields:
 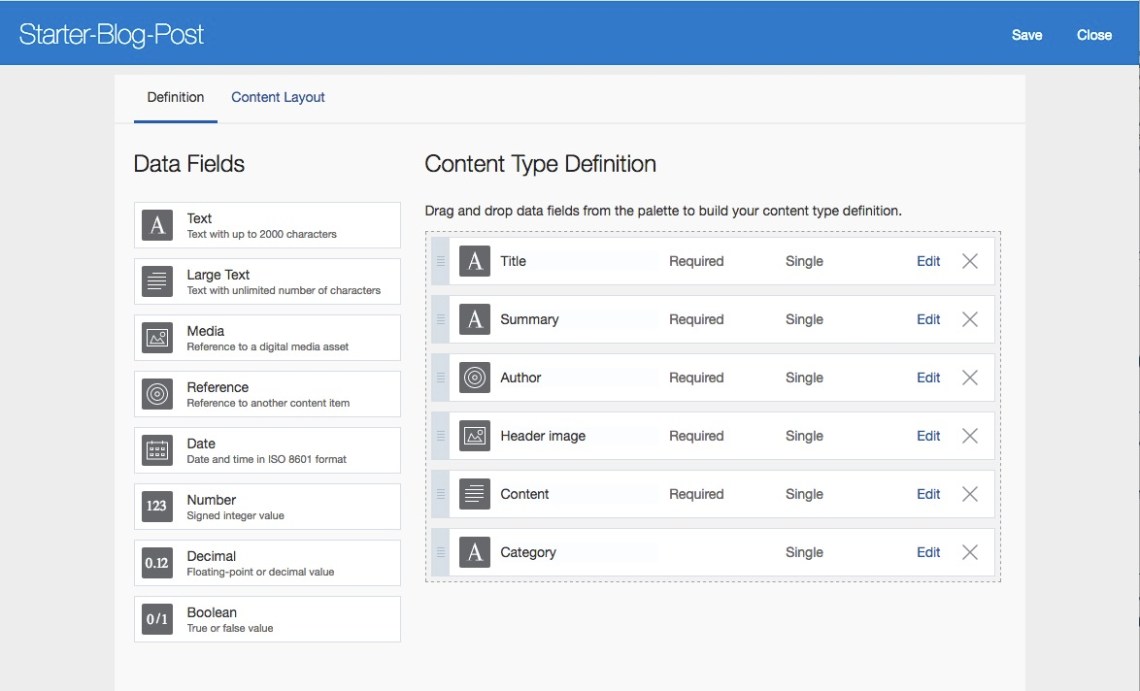 The Title, Summary and Content fields are self-explanatory. Author is a Reference field that will contain reference to an instance of Blog Author type, i.e. to the content item about person who wrote this blog post. The Header Image field will refer to an image that I want to display at the top of the page when site visitor clicks through to read the full blog article. For more information about using Content Types and configuring Fields that you can use to define a type; using Content Items and Digital assets in Oracle Content and Experience Cloud see Working with Structured Content and Working with Content Items and Collections.
Content Layouts
The Blog Post or Blog Author content type defines the infomation that each content item of this type will contain. However, you also need ability to define how a content item of this type will be displayed on a site page. On the Blog site that I am building, each content item can appear either as a Summary view or on the page that displays Blog post in full. The Home page displays a list of blog posts. Each item on this list is displayed using a summary view – Summary layout – which only shows article’s title, its brief summary and author’s name, for example: 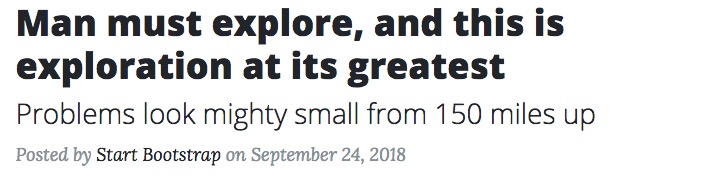 After user clicks on a post title in the summary view to read the article, he can see a page with full blog post. It is the same blog post, but this page is using a different layout to display its content. This layout – Detail layout – not only shows article’s title and author’s name, but also displays article content with a header image at the top, for example:
 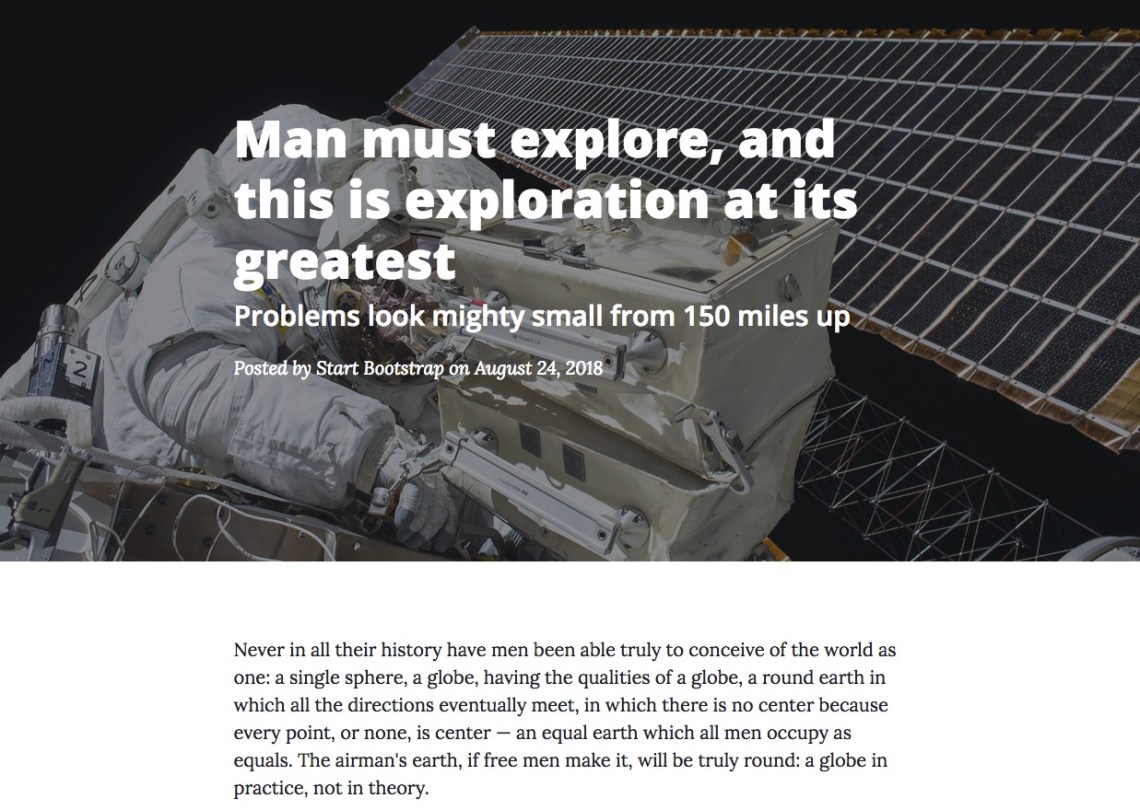 I can meet this requirement in Oracle CEC by first creating Summary and Detail content layouts, mapping them to my Blog Post content type, and then configuring components on the blog site pages to use a specific layout to display content items. To create content layout, you should open Components catalog in CEC web UI and then select ‘Create Content Layout’ option from the pulldown menu:
 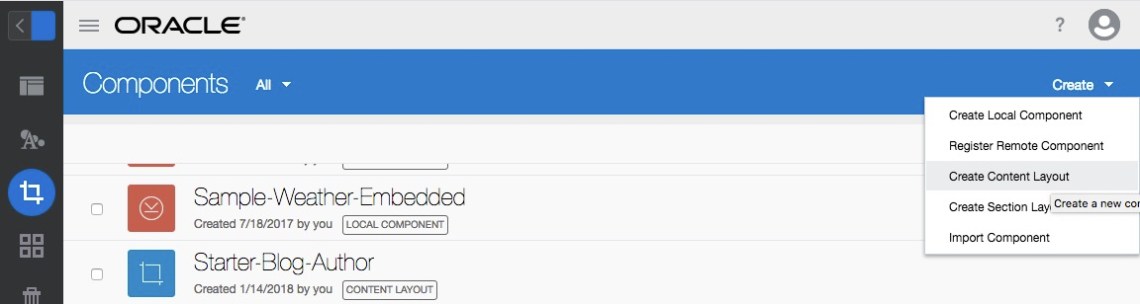 Create two content layouts – ‘Blog Post Summary’ and ‘Blog Post Detail’. Like any new component that you create in CEC, each new content layout contains seeded files and is ready for use with a content type. Seeded content layout will display any content item as a list of name-value pairs for each field it contains which is probably not a view you would want to use. However, before you start changing it, you should review seeded files – it will help you to understand how content layouts work. You have several options to edit content layout files – (a) upload files directly through web UI, (b) select layout and use export / import option in web UI, or (c) use CEC desktop client to sync content layout to your desktop. I prefer to use desktop sync – open ‘Choose Folders to Sync’ option in Preferences and then select content layout that you created under Sites Assets, e.g.:
  Click OK to close dialog and start syncing the files. Once sync is complete, you will see folders with content layout created in your Oracle Content Folder:
  The ‘assets‘ folder contains:
-
-
-
- layout.html is HTML template that defines how content item will be rendered on a site page. By default, we use MustacheJS templates, but you can develop content layout using alternative HTML templates. For example, below is the template form the seeded ‘starter’ content lasyaout:
-
-
</pre>
<ul class="scs-cl-default-layout">
	<li>
<h1>{{name}}</h1>
</li>
{{#render.items}} {{#label}}
	<li>
<h2>{{label}}</h2>
</li>
{{/label}} {{#text}}
	<li>{{text}}</li>
{{/text}} {{#image}}
	<li><img src="{{image}}" /></li>
{{/image}} {{/render.items}} {{#render.self}}
	<li><a href="{{render.self}}">Content Item Data</a></li>
{{/render.self}} {{#scsData.detailPageLink}}
	<li><a title="Go to detail page" href="{{scsData.detailPageLink}}"><span class="detail-page">Details</span></a></li>
{{/scsData.detailPageLink}}</ul>
<pre>
- render.js is executed when content item is being rendered on a site page. It receives content item’s data, formats data as required, and then uses HTML template to render the item. You need to modify render,js to add custom code to get data that you need to render the content item view. For example, you may need to retrieve additional content items or call on a REST API to get extra data. Seeded render.js simply format data to enable name-value display:
- design.css contains CSS classes that you can optionally use in your HTML template.
In my next blog post I will describe step-by-step how to create Summary and Detail content layouts for My Blog site. In the meantime you can use links below to download ZIP files with completed layouts::
If you have created Blog Post Details and Blog Post Summary layout, you should replace their content with files from the ZIP files that you downloaded. Confirm that desktop client completed syncing new files to your CEC instance.
Alternatively, upload both ZIP files to a folder on your CEC instance, navigate to Components catalog and then use Create > Import Component option to add layouts to the catalog:

After selecting Import Component, you will be prompted to select export package. Select one of ZIP files that you uploaded and click OK to import content layout. Repeat steps for the second ZIP file. Once done, you will see new Blog Post Detail and Blog Post Summary content layouts in the catalog.
Assembling the Blog Site
Now you are ready to put together the Blog site. You should start by mapping content layouts that you created or uploaded to the Blog Post type. Navigate to Content Items UI in CEC and then open Manage Types page. Click on Blog Post content type to open it. In the editor, open Content Layout tab:
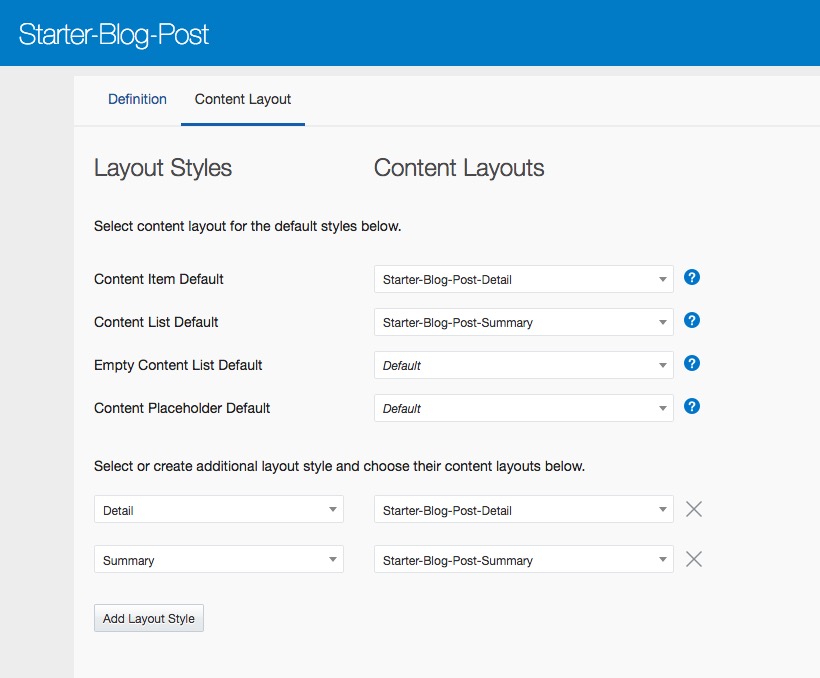
On the Content Layout tab:
- Map Content Item Default style to Blog Post Detail layout
- Map Content List Default style to Blog Post Summary layout
- Add Layout Style ‘Detail‘ and map it to Blog Post Detail layout
- Add Layout Style ‘Summary‘ and map it to Blog Post Summary layout
Done, Save and Close Blog Post content type.
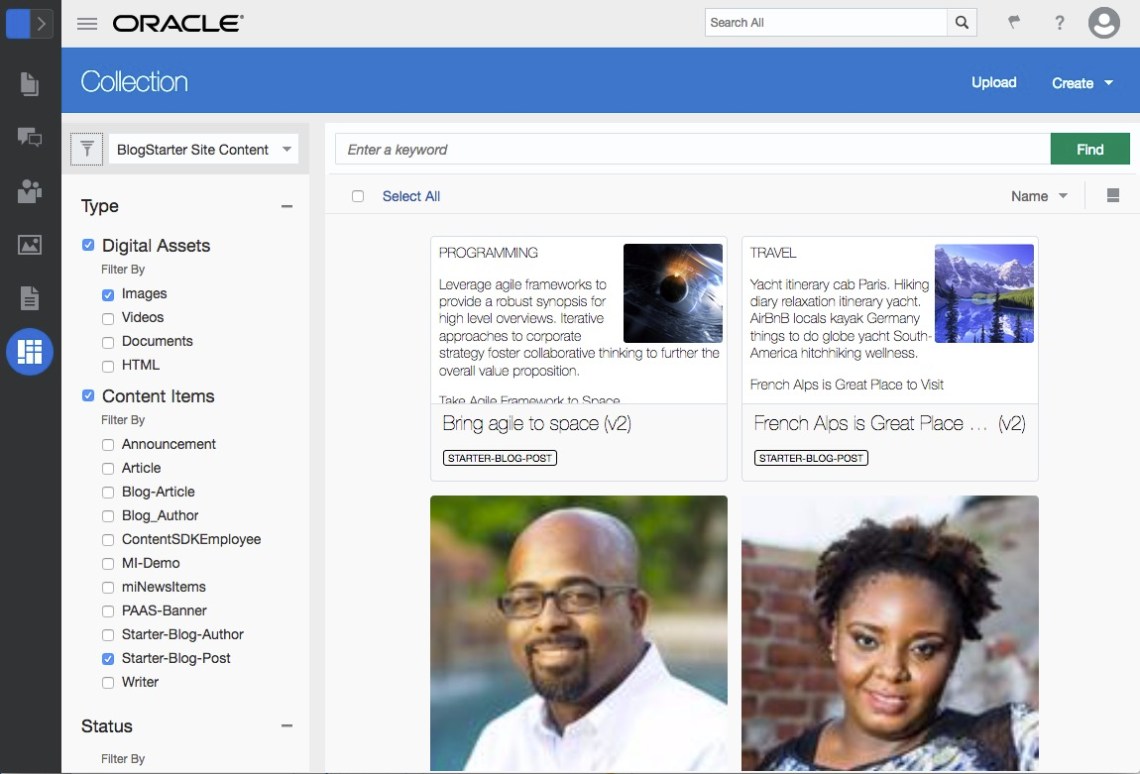
Navigate to Collections in web UI and open collections that has been auto-created for your site. In this collection, create several content items of Blog Author type and then Blog Post type. I used 128x128px images for author’s Avatar and 1900x1200px images for blog post’s header image.
Open My Blog site that you created in the Site Builder and then switch to Edit mode. Select Content List on the Components panel and then drag-and-drop it on to the Home page. Once Content List component is on the page, open its Settings panel and then change settings on the General tab:
- Use Content Type pulldown to select Blog Post type
- Use Item View pull down to select Summary layout style
- Confirm that Post Detail page is selected as Page to Display Individual Item
- You can also change the number of items you want to display on the list page and then select Pagination option for the List.
- You can keep defaults for other settings

As soon as you selected Blog Post content type on the Settings panel, you should see Content List refreshed to display Blog Post items that you have created earlier. Close Settings panel for the Content List component. Home page is completed. Now we need to configure Post Detail page to enable displaying content item in full after site visitor selects it on the Home page.
On the Site Tree in the Builder. select Post Detail page to open it for editing. On the Components palette, select Image component, drag and drop it onto the page. Then drag and drop Content Placeholder component. Note, I put Image above Content Placeholder to simply keep space between the navigation bar and Content Placeholder.
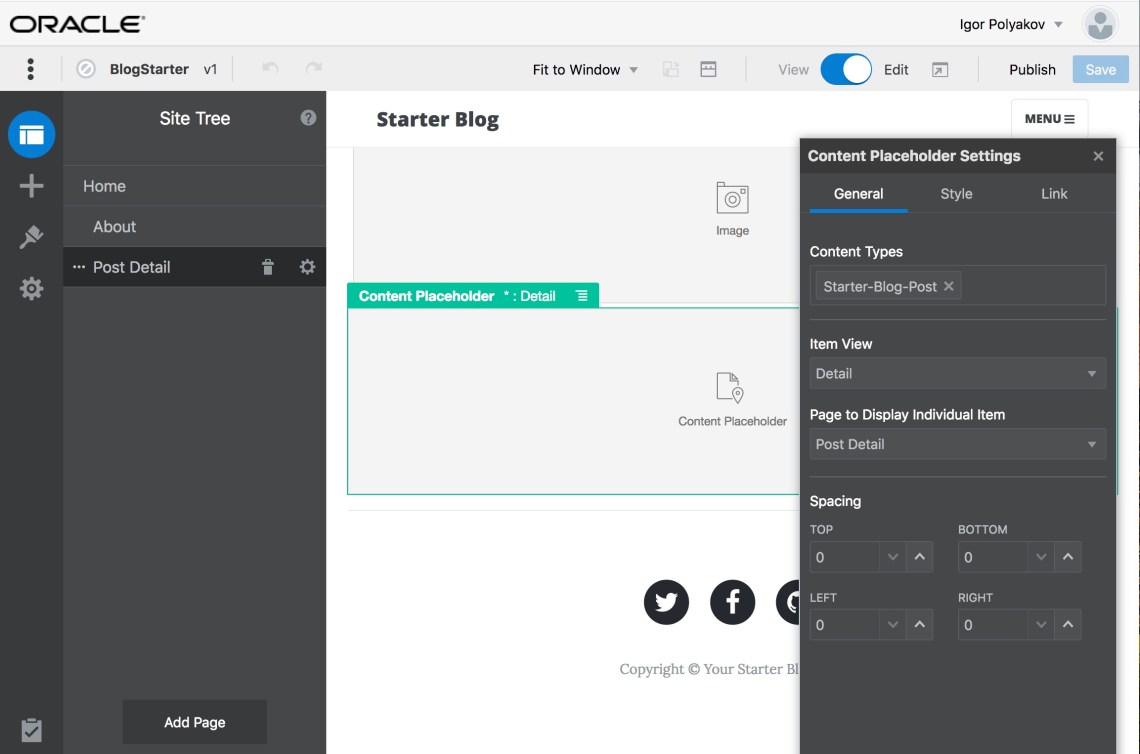
Open Settings panel for the Content Placeholder component and then update settings on the General tab:
- Use Content Type pulldown to select Blog Post type
- Use Item View pulldown to select Detail layout style
Close Setting panel and Save the whole site. My Blog site is complete. You can open it for preview in a separate tab to see list of blog posts that you created on the Home page. If you click on any post on the list, you should see it open on the Post Detail page using Detail content layout, i.e. you will see full blog post.
Alternatively, you can publish the site and then bring in online to use published site URL to browse the site. Note, that publishing site will also publish content items and digital assets from the site’s collection. Have fun!
